This is part 3 of the Linux device driver development post series.
In the previous post structure of a Linux device driver for the custom memory-mapped peripheral in QEMU was shown.
In this post we will cover the following things
- Developing userspace application for designed memory-mapped device
- Coding ideas
- Building application manually
- Adding application to Yocto
- Testing application
- Summary
Developing userspace application for designed memory-mapped device
The driver that was developed in the previous post provides interface to our custom memory-mapped peripheral. What remains is to make an application that will interact with the hardware using that driver.
The application should be able to initialize the device and then block until interrupts arrive, when it should capture the value from the data register and print it.
Device initialization
In order to initialize the device the application needs to:
- turn it on via
ENbit; - select desired frequency via
FREQbit; - enable interrupt generation via
IENbit.
Since all of these bits are accessible via implemented sysfs attributes, the application should access this files and perform appropriate writes.
After device is initialized, the application will go into an infinite loop waiting for interrupt to happen.
Interrupt handling (poll)
The title of this subsection might be misleading, since interrupt handling is done in the kernel driver code. However, the device driver only acknowledges the interrupt and clears interrupt flag, so interrupt processing is left to the application code. The notification from device driver to user space is implemented via sysfs_notify function on interrupt sysfs attribute.
In order for user space application to be able to be woken up when interrupt happens we will use poll syscall. It will make application thread to block while waiting for notification from device driver. Once interrupt is received, the application will be woken up and continue processing.
As for the processing, the application should read the data register (the processed value provided by the sysfs attribute) and print the value that was read.
Coding ideas
In this case I opted for using C++/CMake implementation presented in github repository.
The low-level access to sysfs attribute files and poll syscall is implemented in the Poller class. This class handles initialization and interrupt notification so the higher level code can only worry about handling of read data.
The Poller class will provide method to do the device initialization. It will also provide a method to start a thread where it uses poll syscall to wait for notification from sysfs attribute interrupt. Once notification is received, Poller will read the data sysfs attribute and print read value.
After Ctrl+c is pressed the application will call method from Poller to disable interrupt generation and turn off the device.
Building application manually
Using arm-none-linux-gnueabihf
CMake is chosen as the build system. Since we are cross-compiling for ARM architecture, we need to provide the toolchain.cmake file, which describes everything related to cross-compilation toolchain.
An example for arm-none-linux-gnueabihf toolchain is in github repository.
When setting up the build system, we will pass that toolchain file to cmake using -DCMAKE_TOOLCHAIN_PATH. The rest of the process is the standard CMake flow.
$ mkdir build && cd build
$ cmake -DCMAKE_TOOLCHAIN_FILE=../cmake/toolchain.cmake ..
$ make -j
The resulting mmsens-app binary file will be in the build directory.
Using Yocto SDK
Yocto can be used to create and SDK which includes all required development libraries and build tools.
In order to build the SDK, process similar to building image (presented in part 4 of QEMU Board emulation) with additinal parameter of -c populate_sdk.
$ source setup-environment build_framebuffer
$ DISTRO=mistra-framebuffer MACHINE=vexpress-qemu bitbake core-image-test -c populate_sdk
The resulting toolchain file will be in build_framebuffer/tmp/deploy/sdk/, the mistra-framebuffer-glibc-x86_64-core-image-test-armv7at2hf-neon-vexpress-qemu-toolchain-3.1.sh.
Toolchain and SDK is installed using
$ ./mistra-framebuffer-glibc-x86_64-core-image-test-armv7at2hf-neon-vexpress-qemu-toolchain-3.1.sh
Mistra FrameBuffer SDK installer version 3.1
============================================
Enter target directory for SDK (default: /opt/mistra-framebuffer/3.1):
You are about to install the SDK to "/opt/mistra-framebuffer/3.1". Proceed [Y/n]?
Extracting SDK...........................................done
Setting it up...done
SDK has been successfully set up and is ready to be used.
Each time you wish to use the SDK in a new shell session, you need to source the environment setup script e.g.
 $ . /opt/mistra-framebuffer/3.1/environment-setup-armv7at2hf-neon-mistra-linux-gnueabi
From our mmsens-app we can initiate the build of the application in the following way
$ source /opt/mistra-framebuffer/3.1/environment-setup-armv7at2hf-neon-mistra-linux-gnueabi
$ mkdir build && cd build
$ cmake ..
$ make -j
There is no need to pass the toolchain file since sourcing environment script already does that for us.
Adding application to Yocto
Before we go to testing, we shall look into writing recipe for adding this application to the Yocto build.
The recipe should inherit cmake which will indicate to bitbake that CMake is used for building.
Summary of the recipe is presented here and full recipe can be found in meta-vexpress-apps.
DESCRIPTION = "Memory-mapped sensor userspace application"

SRC_URI = "git://github.com/straxy/mmsens-app.git;protocol=https;branch=main"

S = "${WORKDIR}/git"

inherit cmake
Only other thing needed is to add mmsens-app to IMAGE_INSTALL variable in the image recipe, and the application will be included in the final output image.
After recipe is added, the image can be built and loaded by following instructions from part 4 of QEMU Board emulation.
Testing application
If application is built manually, it needs to be copied to the rootfs of the SD card image following part 2 of QEMU Board emulation.
If application is build as part of the Yocto image, it will be included in the rootfs and located in /usr/bin.
Once application is in rootfs, it just needs to be executed using ./mmsens-app (if not in $PATH) or mmsens-app (if in $PATH).
The application will print the read value from the data register, and can be gracefully stopped by pressing Ctrl+c.
$ ./mmsens-app /sys/class/mmsens/mmsens0
Hello World!
[   51.670787] Interrupt received
Initial 0001
[   52.667802] Interrupt received
0002
[   53.667079] Interrupt received
0003
[   54.667250] Interrupt received
0004
[   55.666935] Interrupt received
0005
[   56.667187] Interrupt received
0006
^C[   57.666989] Interrupt received
0007
$
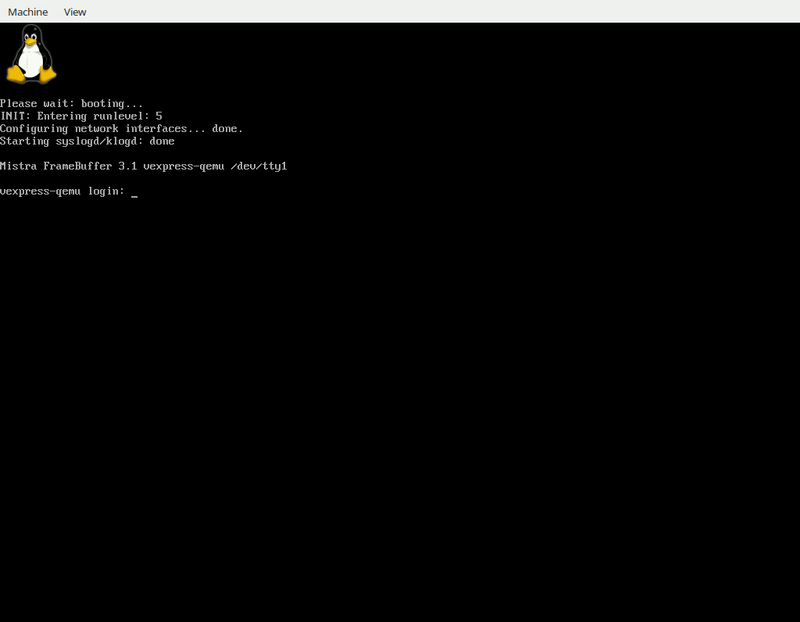
Running same application from Yocto image inside QEMU
Summary
In this blog post userspace application development for custom QEMU memory mapped sensor is presented.
The application encapsulates the sysfs files access and can block until interrupt is received so it can process it.
It can be improved with unit tests, as well as more interactive behavior, but it is left for some other time.
No comments:
Post a Comment